
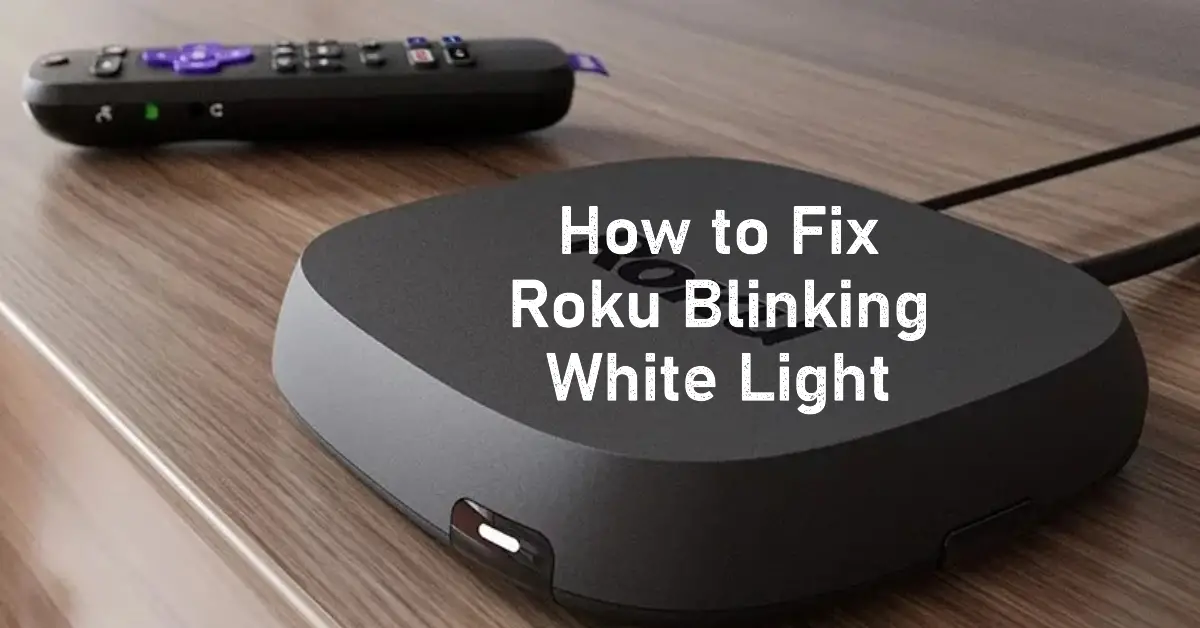
- Understanding the Roku Blinking White Light Issue
- Solution 1: Restart the Roku Device
- Solution 2: Restart Your Wi-Fi Router
- Solution 3: Check Cable Connections
- Solution 4: Change the Display Resolution
- Solution 5: Contact Roku Customer Support
- Solution 6: Factory Reset Device’s Settings
- Solution 7: Direct Connection with Modem
- Frequently Asked Questions (FAQs)
- Conclusion
Are you tired of the relentless game of hide-and-seek your Roku device plays with a blinking white light?
It’s like a glitchy signal trying to hijack your movie nights, leaving you frustrated. But fear not. We’ve got your back with a comprehensive guide packed with seven foolproof methods to banish the Roku blinking white light issue.
With our expert advice, you’ll triumph over this pesky problem and reclaim your throne as the undisputed ruler of entertainment. Let’s dive in.
Understanding the Roku Blinking White Light Issue
Before we delve into the solutions, let’s first understand what the blinking white light on your Roku device signifies.
A blinking white light typically indicates a fault in the device, which could be related to connectivity or software issues.
Now, let’s explore the reasons behind the Roku blinking white light problem.
- Problem with Cable Connectivity: One of the common causes of the white blinking light is loose or faulty cable connections between your Roku device and the TV.
- Software Issue: Occasionally, a software glitch can trigger the blinking white light on your Roku device. This can be resolved by performing a simple restart.
- Poor Internet Connection: If your internet connection is unstable or weak, it can lead to the blinking white light issue. Restarting your Wi-Fi router might help resolve this problem.
- Unsupported Resolution: Roku devices have recommended display resolutions that may not be compatible with all TV screens. You may encounter the blinking white light problem if the resolution settings don’t match.
- Hardware Problem: In some cases, the issue might be related to a hardware problem within the Roku device itself. This can range from faulty ports to internal damage.
Now that we have identified the potential causes let’s move on to the solutions.
Solution 1: Restart the Roku Device
Restarting your Roku device is a simple yet effective solution for fixing minor software glitches and connectivity issues. To restart your Roku device, follow these steps:
- Grab your Roku remote and press the Home button to access the main menu.
- Navigate to the Settings option in the menu.
- Select System Settings and then choose the Power option.
- Finally, select the System Restart option.
Wait for a few minutes as your Roku device restarts. Check if the blinking light issue has been resolved. If not, proceed to the next solution.
Solution 2: Restart Your Wi-Fi Router
Restarting your Wi-Fi router can help address connectivity issues that might be causing the white blinking light on your Roku device. Follow these steps to restart your Wi-Fi router:
- Disconnect the power cable from your Wi-Fi router and wait for a few seconds.
- Plug the power cable back in and wait for the router to boot up completely.
This process may take a few minutes. After the restart, check if the blinking light returns to normal. If the issue persists, move on to the next solution.
Solution 3: Check Cable Connections
Loose or damaged cable connections between your Roku device and the TV can result in the blinking white light issue. Follow these steps to ensure proper cable connections:
- Check the cables that connect your Roku device to the TV, such as the HDMI or TV port cables.
- Ensure the connections are secure and free from any physical damage.
- If you suspect a cable issue, try replacing it with a new cable.
- If the connectivity ports are causing the problem, try connecting the cables to different ports on your TV.
After checking and securing the cable connections, check if the blinking light problem persists. If it does, proceed to the next solution.
Solution 4: Change the Display Resolution
Sometimes, a mismatch between the resolution settings of your Roku device and your TV screen can trigger the blinking white light. Follow these steps to change the display resolution:
- Connect your Roku device to a TV screen with a 4K resolution, if available.
- Check if the blinking light issue persists on the new TV screen.
- If the issue is resolved, it indicates a resolution mismatch between your Roku device and your original TV screen.
- Adjust the resolution settings of your Roku device to match that of your TV screen.
After adjusting the resolution, check if the blinking light problem has been resolved. If not, proceed to the next solution.
Solution 5: Contact Roku Customer Support
If none of the previous solutions have resolved the blinking white light issue, it might be time to seek assistance from Roku customer support.
Roku provides customer support pages with answers to frequently asked questions.
Before contacting customer support, check if your Roku device is still under warranty.
If it is, you can reach out to the customer support team for further assistance. Otherwise, consider replacing or repairing your device.
Solution 6: Factory Reset Device’s Settings
Performing a factory reset on your Roku device can help resolve persistent issues. However, remember that this process will erase all previously stored data and selected preferences.
Before proceeding, ensure all the necessary account passwords are connected to your Roku device. There are two methods to factory reset your Roku device:
- Reset via Remote: Access the settings on your Roku device using the remote and look for the factory reset option. Follow the on-screen instructions to complete the process.
- Reset via Device: Locate the reset button on your Roku device. Sometimes, it may appear as a hole instead of a button. Press and hold the reset button for a few seconds using a paperclip or similar object. The device will reset, and you can set it up again from scratch.
After a factory reset, check if the blinking light issue has been resolved. If not, proceed to the final solution.
Solution 7: Direct Connection with Modem
If you suspect the router is causing the blinking white light issue, consider establishing a direct wired connection between your modem and the Roku device. Follow these steps:
- Connect an ethernet cable from the modem to the Roku device’s ethernet port. You can use an ethernet adapter if your Roku device doesn’t have an ethernet port.
- Change the network settings on your Roku device to switch from a wireless connection to a wired connection. Access the network settings and select the wired connection option.
After establishing the direct connection, check if the blinking light issue has been resolved.
Frequently Asked Questions (FAQs)
Q: Why is my Roku device blinking blue light instead of white? A: A blue blinking light on your Roku device usually indicates a malfunctioning USB connector. You can try replacing the USB connector to resolve the issue.
Q: What does a red blinking light mean on a Roku device? A: A red blinking light on your Roku device typically indicates a lack of electric power. Check your electricity voltage or replace the power batteries to address the issue.
Q: How can I identify if there is an issue with my Roku device? A: The Roku device may sometimes start blinking white or red lights. However, there are instances where the light doesn’t blink, but the device starts to overheat.
If you notice any unusual behavior or overheating, addressing the issue promptly is essential.
Conclusion
These seven effective solutions can resolve the Roku blinking white light issue. By following the troubleshooting steps outlined in this article, you can identify and fix the problem causing the blinking light.
Check cable connections, restart your devices, and adjust settings to ensure compatibility. If everything fails, consider contacting Roku customer support or performing a factory reset.
By applying these solutions, you can restore your Roku device to normal functionality and continue enjoying your favorite movies and shows without interruption.
If you still encounter issues with your Roku player or remote, it might be necessary to consider replacing or upgrading them. Additionally, it’s crucial to prioritize technical expertise when dealing with hardware damage.
READ MORE: