
The Philips Hue Bridge is a central component of the Philips Hue smart lighting system, allowing you to control and customize your lighting experience.
Setting up the Hue Bridge is a straightforward process that involves connecting it to your home network and configuring it with the accompanying app.
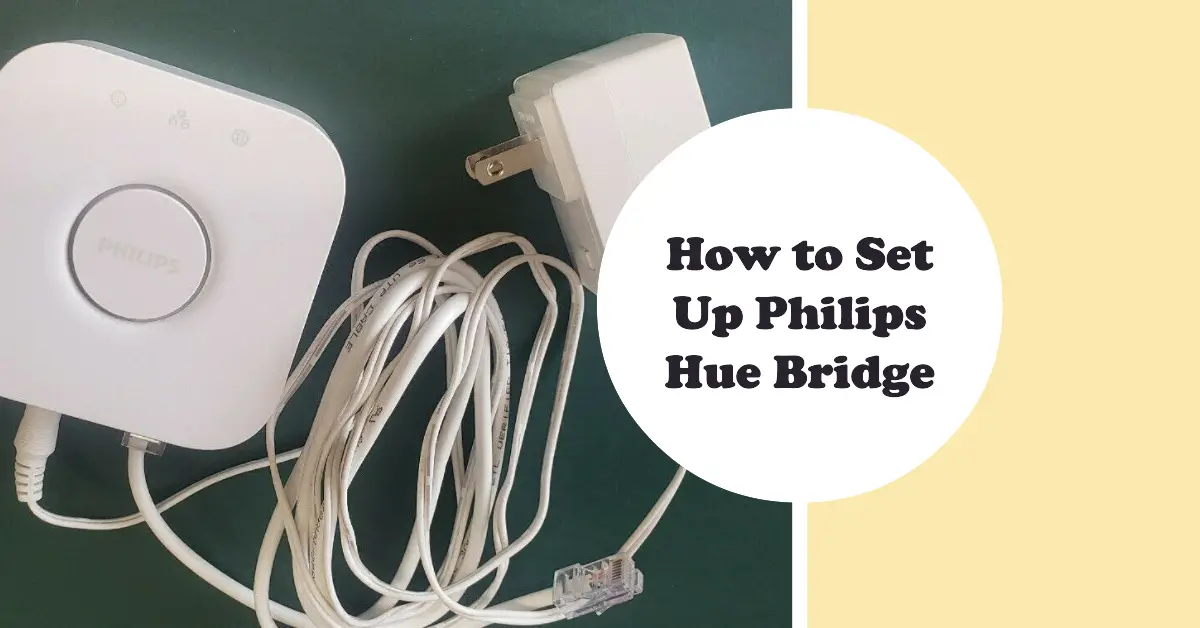
This article will guide you through how to set up Philips Hue Bridge.
Plug in the Bridge
Start by plugging the Philips Hue Bridge into a power outlet using the provided power adapter. Ensure that the Bridge is within range of your Wi-Fi router for a stable connection.
Connect to the Router
Use the included Ethernet cable to connect one end to the Hue Bridge and the other end to an available Ethernet port on your Wi-Fi router. This wired connection ensures a reliable and fast connection between the Bridge and your network.
Download the Hue App
Go to the app store on your smartphone or tablet and search for the “Hue” app. Download and install the app on your device. The Hue app is available for both iOS and Android platforms.
Open the App and Follow the Instructions
Launch the Hue app and follow the on-screen instructions to set up your Hue Bridge.
The app will guide you through the process, which includes connecting to the Bridge, discovering the lights in your system, and creating a personalized lighting setup.
Pair the Bridge and Lights
Once the app prompts you to do so, press the button on the Hue Bridge to pair it with the app. This step establishes a secure connection between the Bridge and your device.
Afterward, the app will search for any Philips Hue lights within range and add them to your system.
With the Philips Hue Bridge set up, you can now enjoy the full functionality of your smart lighting system.
The Bridge acts as a hub that communicates with the Hue lights, allowing you to control them remotely, create customized lighting scenes, set schedules, and even integrate them with voice assistants like Alexa or Google Assistant.
READ MORE:
