
Are you fed up with your cranky old sprinkler controller acting like a stubborn grouch, leaving your lawn thirsty and unattended?
Well, it’s time to replace it with a brand new one and improve the performance of your sprinkler system. Replacing a sprinkler controller may seem daunting, but don’t worry.
In this step-by-step guide, we will walk you through the process and make it easy for you to follow along.
Materials Needed
Before we dive into the process of replacing a sprinkler controller, it’s essential to have all the necessary materials ready to go. Here are some items you’ll need:
- A new sprinkler controller that suits your needs and requirements. You can find various controllers available in the market with different features and functionalities.
- Wire strippers and cutters for connecting wires efficiently. It would help to have pliers or adjustable wrenches for tightening nuts and bolts.
- Waterproof wire connectors to protect your system from water damage or short circuits.
- PVC cement so that you can glue pipes together when needed during installation.
- Work gloves and safety glasses are necessary for protecting yourself while working on electrical systems.
Preparing these materials beforehand will make the replacement process much smoother and more efficient.
Step One: Preparing the Site
The first step in preparing the site is to shut off power to your existing sprinkler system. This can be done by turning off the circuit breaker that powers your controller or unplugging it from its power source.
Next, remove the old controller and any mounting hardware attached to it. Ensure all screws and bolts are safe to reuse while installing the new controller.
Once you have removed the old controller, inspect all wiring and piping connected to it. Check for any damage or wear and tear that may need repairs before installing the new unit.
After confirming everything is in good condition, clean up any debris or dirt around where you plan on installing your new sprinkler control box. Ensure there are no obstacles nearby that could hinder access when testing or repairing later.
By taking these steps before starting with actual replacement work, you set yourself up for success down the line and safeguarding against accidents during setup, such as tripping over unsecured cables, etc.
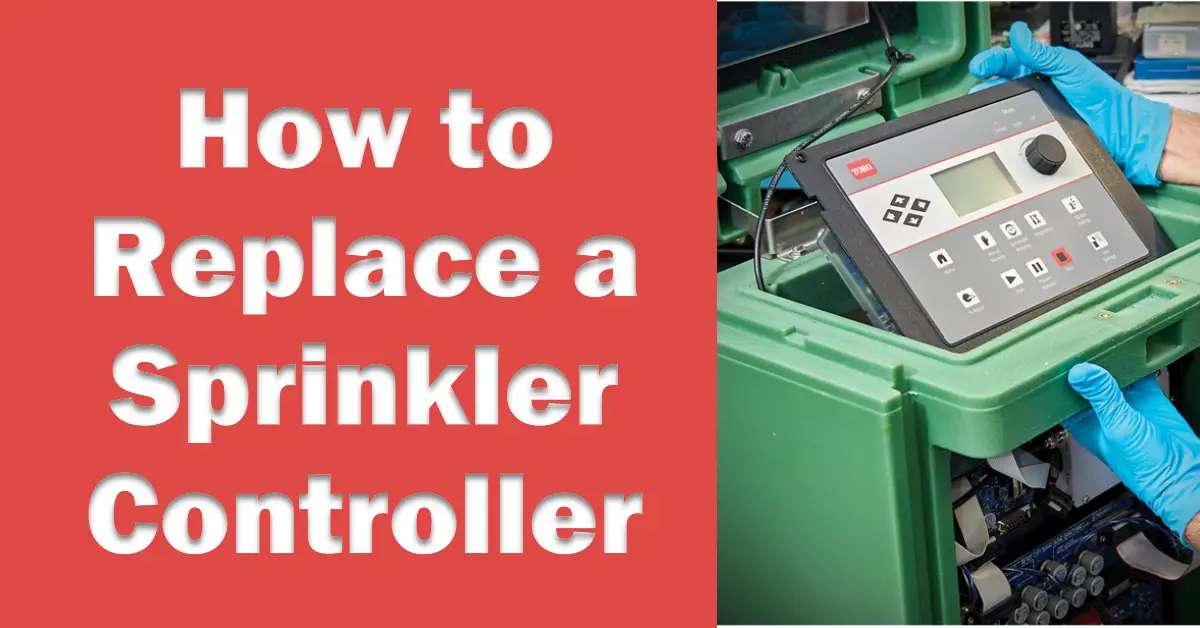
Step Two: Installing the Controller
The first thing to do is to remove the old controller from its bracket or mounting location on a wall or post. Be careful when removing any screws or bolts, as they can be sharp and cause injury.
Next, attach your new controller to the same brackets or mounting location as your old one. Make sure it is securely fastened in place before moving on.
Before connecting any wires, double-check that you are using the right wiring diagram for your specific controller model. This will ensure proper installation and avoid any electrical issues down the line.
Once you have confirmed which wire goes where connect them to their corresponding terminals on your new controller, it’s important not to mix up wires so that each zone operates correctly.
Insert batteries into your new controller if required by its design. Then turn the power back on at the circuit breaker box and test out each zone individually with manual controls provided by most controllers.
Step Three: Connecting Wires and Pipes
Now that the new sprinkler controller is in place, it’s time to connect the wires and pipes. This step requires a bit of patience as you will need to ensure each wire is properly connected.
Begin by disconnecting all wires from the old controller carefully. Take a picture or label each wire with tape to easily remember which one goes where. Then, attach these wires to their corresponding terminals on your new controller.
Next up are the pipes. Check for any cracks or leaks and replace damaged parts accordingly before connecting them to your new controller. Make sure they fit snugly into place by using PVC glue if needed.
Once everything is securely in place, slowly turn on the water supply to check for leaks. If there are none, turn on your new sprinkler system and let it run through its cycle a few times while monitoring its performance.
Step Four: Testing the System
Start by turning on the water supply to allow enough pressure in the pipes before running a full cycle of all zones.
Check if each zone is properly working, ensuring no leaks or clogs are in any of them. Make sure that each zone turns off after completing its designated time frame.
Once you’ve confirmed everything is working correctly, use your manual or smartphone app (if available) to program your preferred watering schedule.
Don’t forget to set up rain sensors and other features as needed to maximize water usage while keeping plants healthy.
It’s also important to regularly check for issues such as broken heads or leaks throughout the season. Doing routine maintenance will help prevent costly problems down the line and keep your lawn looking lush and green all year round.
Conclusion
Replacing a sprinkler controller may seem daunting, but it can be done easily with the right tools and steps.
Always read the instruction manual with your new controller thoroughly before starting any installation process. Safety should also come first; ensure all electricity sources are turned off before commencing work on the system.
With these tips in mind, you’ll have an efficient and reliable sprinkler system up and running in just a few simple steps. Don’t hesitate to seek professional help if you encounter any challenges along the way.
READ MORE:
- The Best Smart Sprinkler Controllers for Google Home in 2023
- How Do I Convert My Sprinkler System To Smart?
- The Best Smart Sprinkler Controller with Sensors for Efficient Watering (2023)
- The Best Smart Sprinkler Timers 2023 (Reviews & Buying Guide)
- How to Fix B-hyve Smart Watering Not Scheduled or Working
- The Best Smart Sprinkler System: Automate Your Lawn Irrigation
- Best Smart Sprinkler Controllers That Works With Alexa