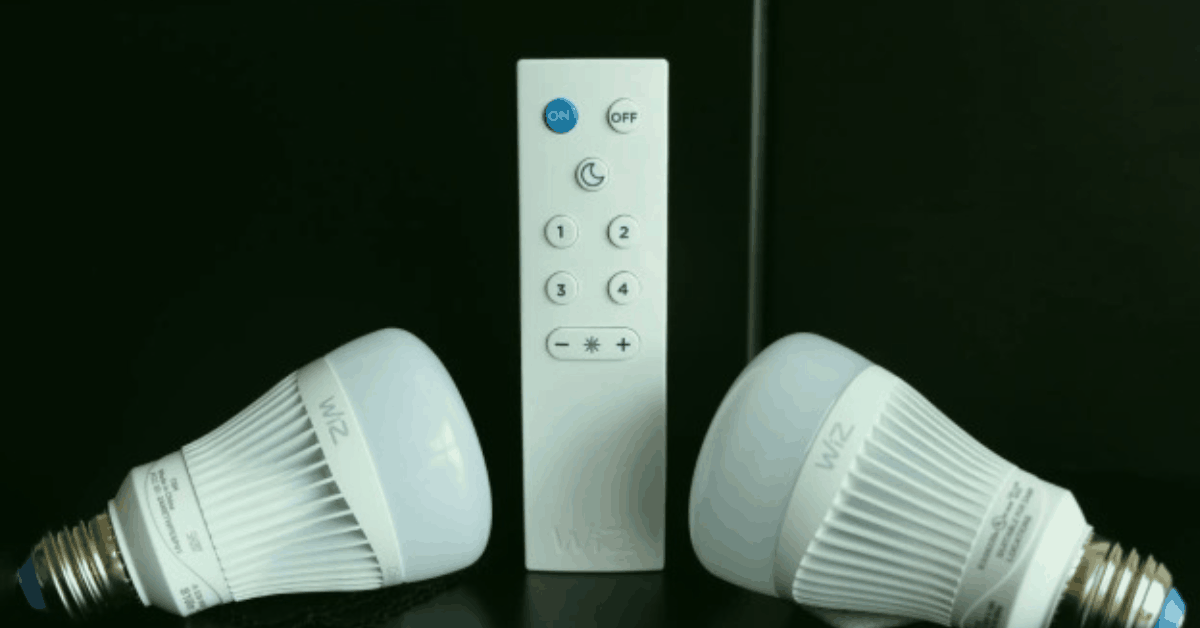
Welcome to our step-by-step guide on how to connect Wiz Lights to a new WiFi network.
Whether moving into a new home or upgrading your internet service, it’s important to know how to keep your intelligent lighting system connected.
With just a few simple steps and some basic knowledge of your Wiz Lights, you can easily switch to the new WiFi network without any hassle.
So let’s get started and learn how to keep those lights shining bright.
Step 1: Change the WiFi Settings on Your Wiz Light
The first step in connecting your Wiz Lights to a new WiFi network is changing the WiFi settings on your lights. This may sound complicated, but it’s actually quite simple.
First, ensure your Wiz Lights are turned on and connected to their current WiFi network. Then, using the Wiz app on your phone or tablet, navigate to the “Devices” tab and select the light you want to connect to a new network.
Once you’ve selected the light, tap “Settings” and “WiFi.” Here, you’ll be able to see all of the available networks within range of your light.
Select the new network you want to connect to and enter its password when prompted.
After correctly entering the password, wait a few minutes while your Wiz Light connects to the new WiFi network. Once it has successfully connected, it should appear as online in your Devices list within the app.
By following these simple steps, you can easily change the WiFi settings on your Wiz Light and keep them connected.
Step 2: Connect Your Wiz Light to the New WiFi Network
Now that you have changed the WiFi settings on your Wiz Light, it’s time to connect it to the new network. Here are some simple steps to follow:
1. Open the Wiz app and select “Add Device.”
2. The app will prompt you to enter your WiFi password.
3. Once entered correctly, the app will search for available devices.
4. Select the device you want to connect and hit “Next.”
5. Wait a few moments while the app connects your Wiz Light with the new WiFi network.
6. After a successful connection, name your device something meaningful so that it is easy for you to identify later on.
7. Test out whether your newly connected light bulb works by turning it off and then back on again using the Wiz app.
Connecting your Wiz Lights to a new WiFi network may seem daunting initially, but following these simple steps can make this process quick and painless!
Step 3: Enjoy Your Newly Connected Wiz Lights.
You have successfully connected your Wiz Lights to the new WiFi network. Now, it’s time to enjoy the fruits of your labor and bask in the warm glow of your newly connected lights.
Take a moment to appreciate how easy it was to complete this process. With just a few simple steps, you can connect your lights without hassle or frustration.
Now that everything is up and running smoothly, you can take advantage of all the features that these smart bulbs have to offer.
Adjust their brightness, change their color temperature, set schedules for when they turn on and off – the endless possibilities.
Don’t forget about voice control options like Amazon Alexa or Google Assistant integration. With these features at your disposal, controlling your lighting has never been more effortless.
Conclusion
Remember that changing the settings on your Wiz light and connecting it to a new WiFi network can be done quickly and easily by using the Wiz app. Once everything is set up correctly, you’ll enjoy all the benefits of smart lighting in no time.
READ MORE:
